All walls have been completed
The construction project got in a bit of a problem when an unlucky encounter with a door led to a hand injury. As a consequence I was unable to lift heavy pieces or use power tools. Thankfully, I was able to find some help and the second man on the job made it possible to compensate for the time loss this week.
Together we built the interior wall between bathroom/storage and living room / kitchen area. The wall between bathroom and storage will be added later and will be less thick as it is not a load bearing wall.
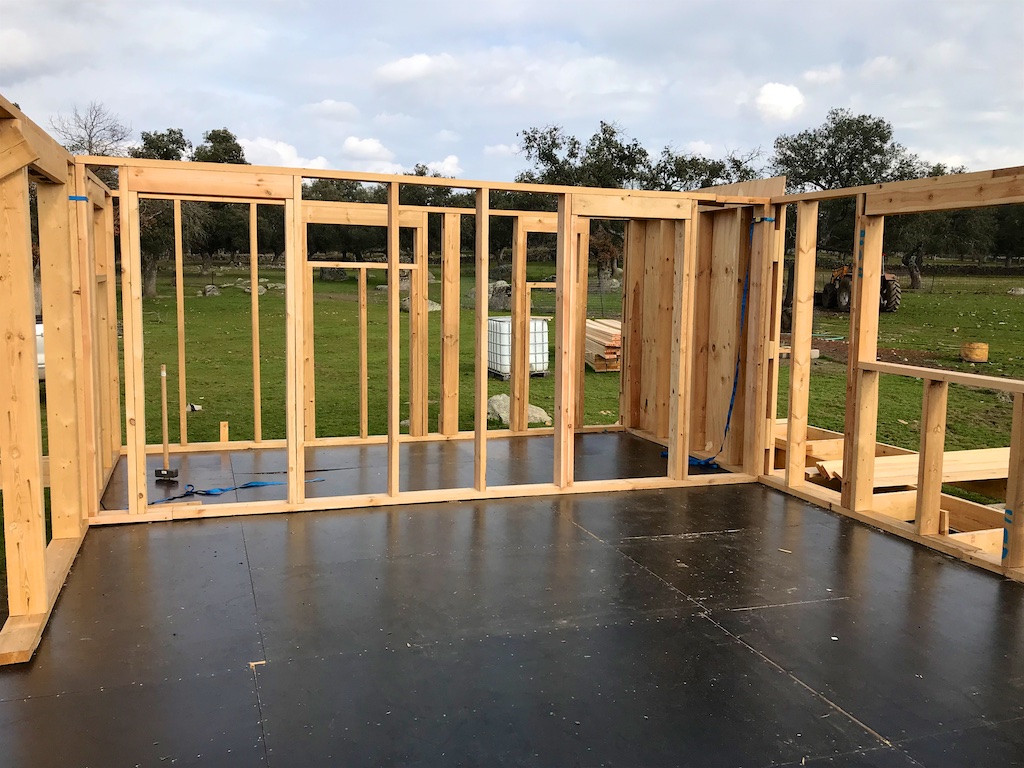
We also added first the remainder of the western wall and then closed the building with the southern wall piece.
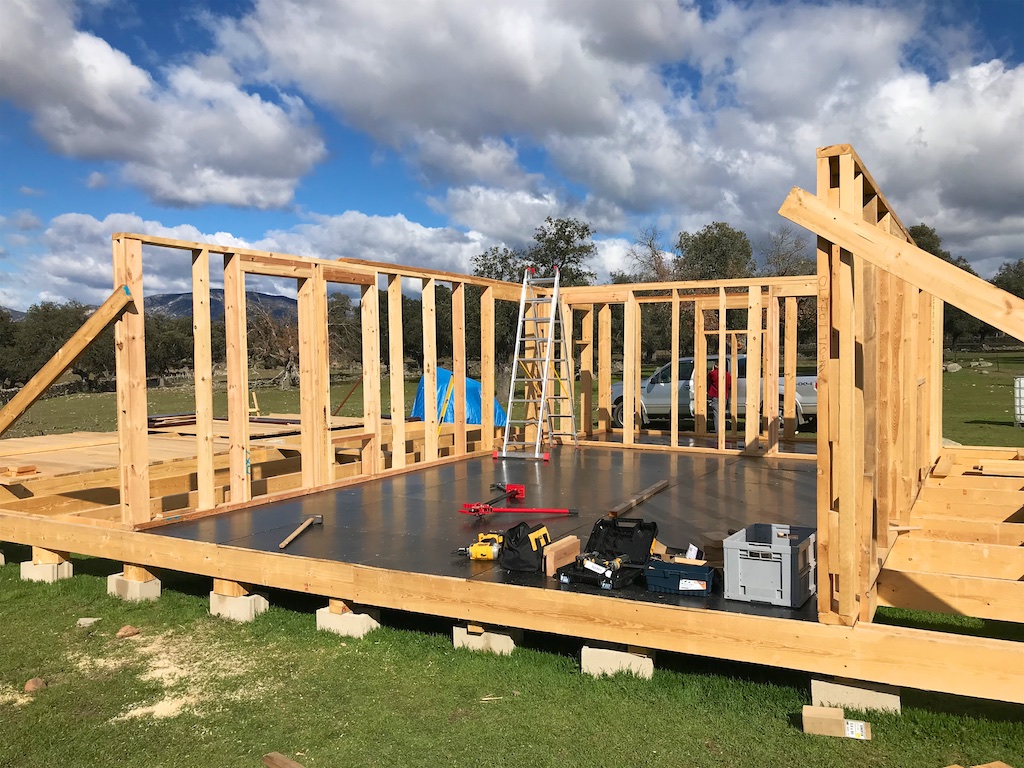
With that done we moved on to figure out how to construct the roof. I had ordered some 6m long 5x22 cm boards. The building is 5,30 m wide. The roof is supposed to be a simple single sloping roof. We put up one of those long boards to figure out how high the wall providing the slope can be so that we still have enough of the board’s length left to attach it securely to both walls.
We then build an extension of 50 cm “studs” with a 3 cm plate on the bottom and top.
As we are in southern Spain we don’t have to worry about snow load which is why I believe we can get away with a bit of slope and a pretty light structure.
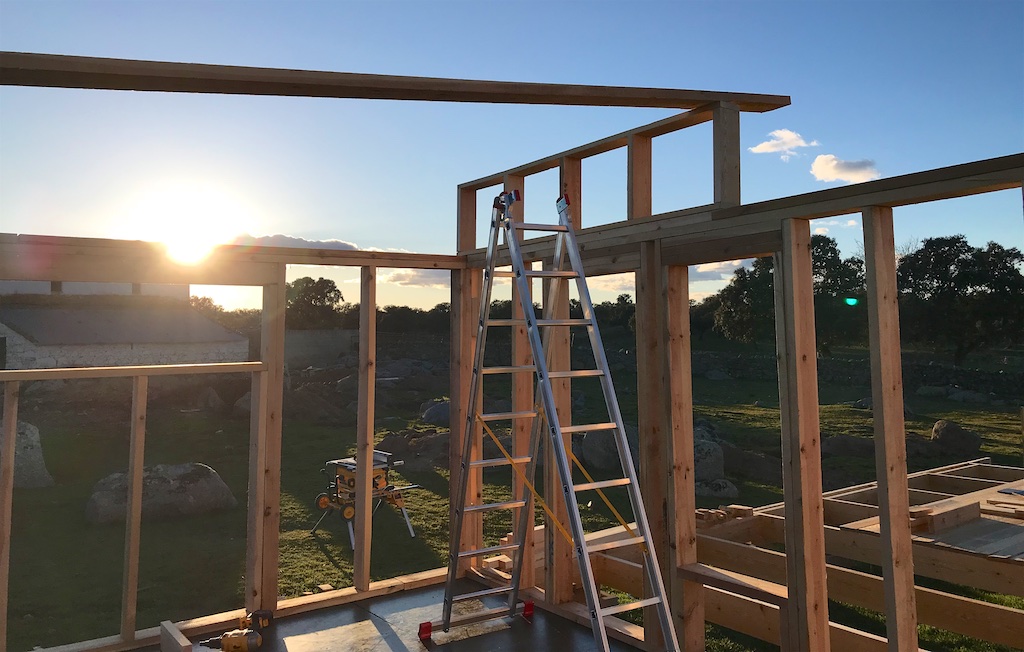
Unfortunately we then discovered a problem.
The western wall was leaning outside and the southern wall was inclined. Oups…
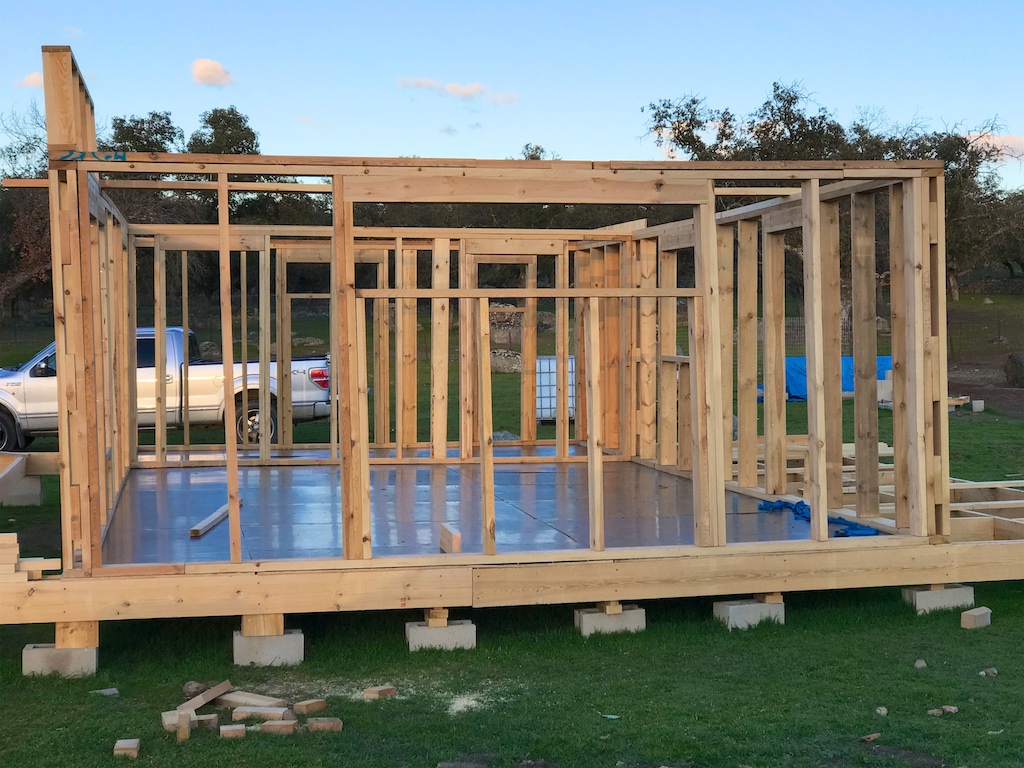
That got fixed pretty quickly with some ratchet straps and we then used 18 mm plywood to strengthen the wall and keep it plum and square. The plywood also helps to keep the wall extension in place. The plan is to use the same 18 mm plywood on the outside as well for additional strength. That, however, has to wait until we have the insulation and tubes for the electrical wiring in place.
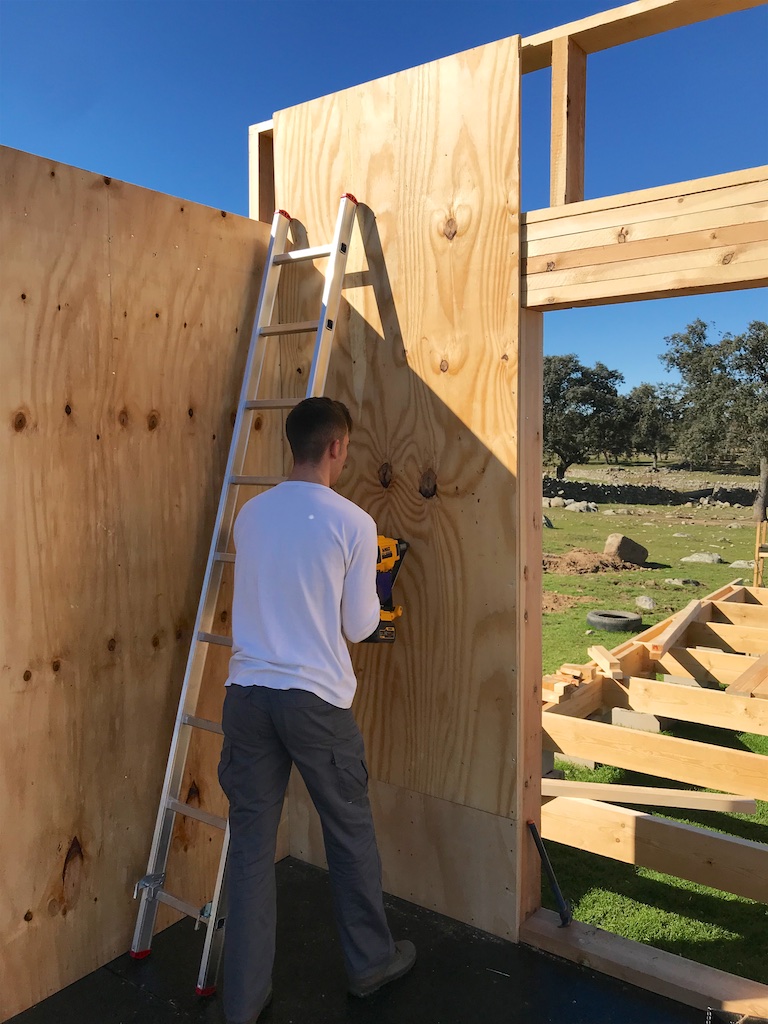
Now that we have all the walls we started to work inside. It felt like being in a house instead of being on a platform.
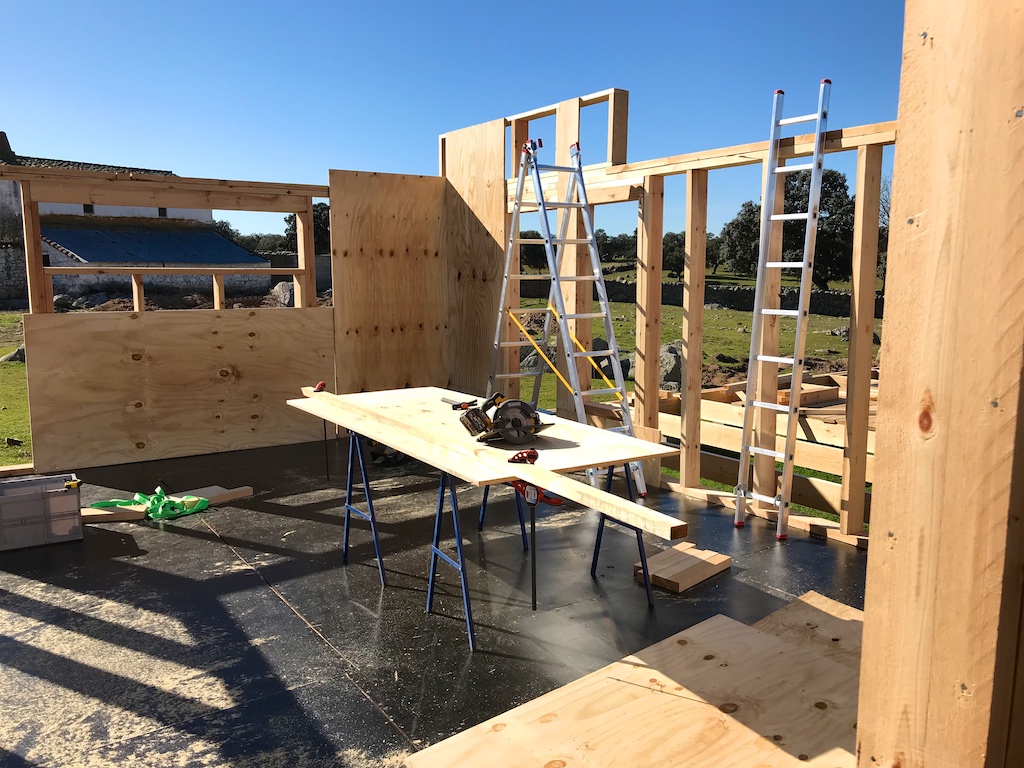
At the end of this week we had installed enough plywood to keep the walls strong.
My understanding is that we are making a mistake by letting the plywood end outside a stud here and there. We probably should cut it in such a way that it ends and begins always on a stud. On the other hand that would mean a lot of waste. We are not intending to hang a lot of things on the walls neither do we have a second story. After all the whole building is temporary for maybe 2 to 5 years.
On the eastern wall we will end and begin the plywood on studs as that’s where the kitchen cabinets will go.
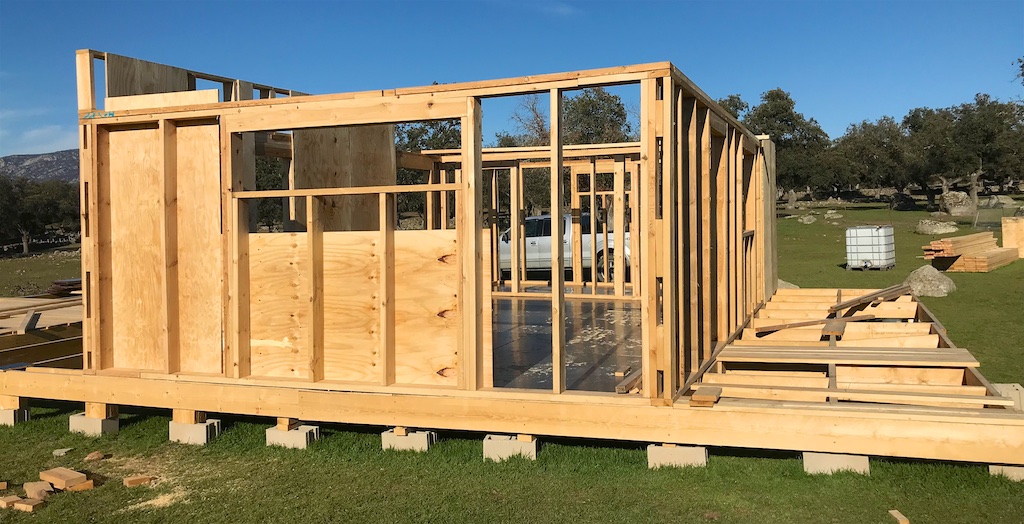
We even made a makeshift entrance to the main door.
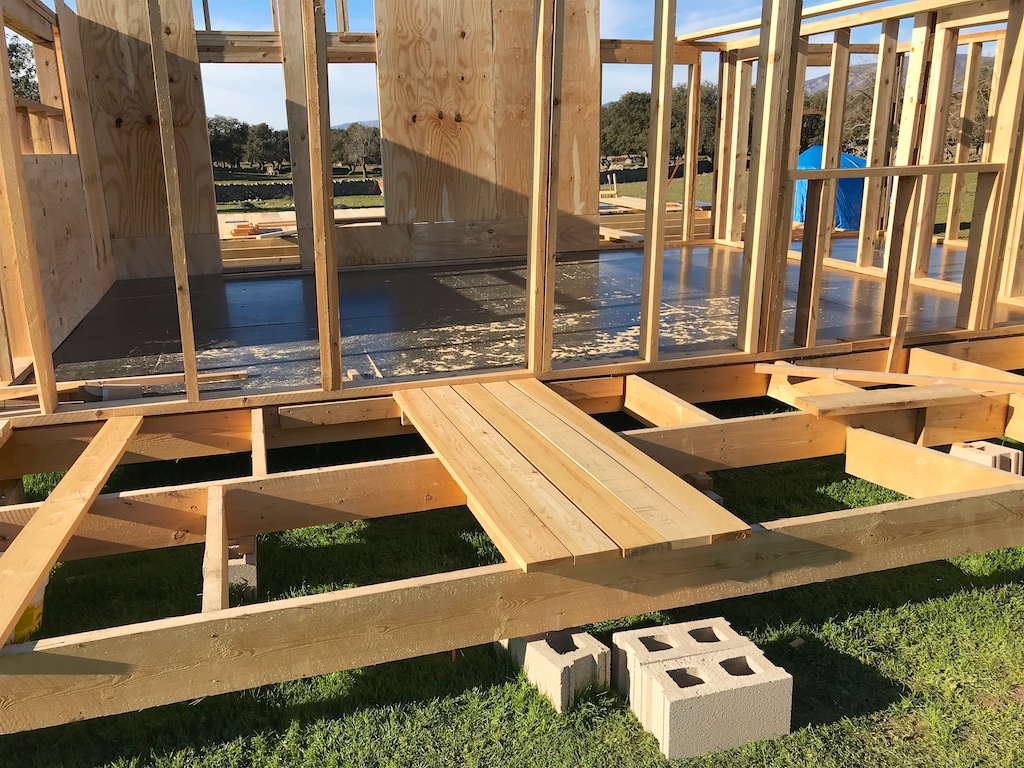
From the inside it does look like a real room although the roof is still missing.
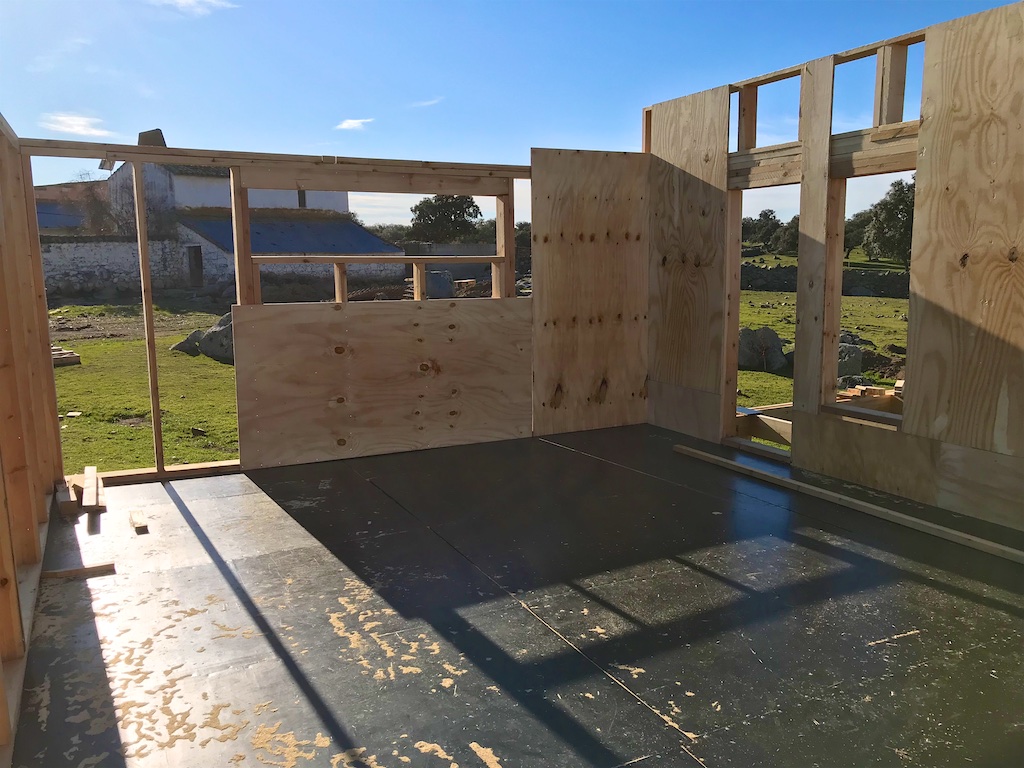
The idea was to make the huge wall strong and sturdy before adding the rafters for the roof. I also want to add a T-shaped beam, made out of two planed boards, in the center of the room as bracing to prevent the rafters from bending the walls outward. That T-shaped bracing beam will also allow us to install a ceiling fan.
| Previous | 04 Feb 2018 | Next |
This article has been posted to social media sites. There might be comments. Just follow the links:


